The most common way of creating APIs is using REST (Representational State Transfer), of which we make use of the http verbs (POST, GET, PUT, DELETE) to state what is the operation. However, if we want to allow our API clients to specify exactly what should be the fields to be retrieved, so that the client only gets what it needs, we can’t really achieve that easily with REST.
Introduce GraphQL, it is a software for implementing APIs by allowing users to define their data, queries, and mutations with a type language, so that clients can query the APIs from a single endpoint.
For example, if you have a product catalogue system, with REST, you would define the APIs as such
Create - [POST] /products
Read All - [GET] /products
Read One - [GET] /products/{id}
Update - [PUT] /products/{id} {product}
Delete - [DELETE] /products/{id}
With GraphQL, it’s just one endpoint - /graphql and we only use POST. And we define our schema.graphqls file to define our data, queries, and mutations as such.
# schema.graphqls
# Define the Product type
type Product {
id: ID!
name: String!
description: String
price: Float!
category: String!
}
# Define the Query type for Read operations
type Query {
# Get a single product by ID
getProduct(id: ID!): Product
# Get all products (optionally by category)
getAllProducts: [Product]
}
input ProductInput {
name: String!
description: String
price: Float!
category: String!
}
# Define the Mutation type for Create, Update, and Delete operations
type Mutation {
# Create a new product
createProduct(product: ProductInput!): Product
# Update an existing product
updateProduct(id: ID!, updatedProduct: ProductInput!): Product
# Delete a product
deleteProduct(id: ID!): Boolean
}
The syntax is almost identical to typescript, we define the our Product type to describe our data, what fields are present, and what are their types. Then we define our APIs with the Query type and Mutation type. As the name suggests, Query is just for getting data, and if we are to modify any data with our API, we use Mutation. Here we define the getAllProducts and getProduct queries to read the data, and createProduct, updateProduct, and deleteProduct to create, update, and delete our data. It’s like back to the old way of creating APIs without using REST http methods. And if we need to pass in objects as parameters to our APIs, we need to create an input type. We can’t use the original defined Product type.
To call our APIs, we send a http POST to the /graphql endpoint, with the graphql syntax in the data of the http body. For example, to call the createProduct, we would pass in the following graphql query.
mutation {
createProduct (product: {
name: "pen",
description: "writing instrument",
price: 1.50
category: "stationery"
}){
id
name
description
price
category
}
}
and we will get the following in return.
{
"data": {
"createProduct": {
"id": "64f051c2aca30273b0f87531",
"name": "pen",
"description": "writing instrument",
"price": 1.5,
"category": "stationery"
}
}
}
Notice that we specify the fields at the end of the query, this is mandatory for all non-scalar type return results, so we can specify just the fields we need. For example, if our graphql query is just
mutation {
createProduct (product: {
name: "pen",
description: "writing instrument",
price: 1.50
category: "stationery"
}){
id
name
description
}
}
then we will get only the specified fields in return.
{
"data": {
"createProduct": {
"id": "64f0528baca30273b0f87532",
"name": "pen",
"description": "writing instrument"
}
}
}
Implementing in Spring Boot
Let’s try to implement the above in a spring boot application. A good use case for using graphql is for microservices, with its ability to allow dynamic specification of what fields are needed, it can be easily implemented for future usage without having to create new APIs for different field requirements. And with microservices, having non-blocking functions helps with better resource utilization, particularly when you have multiple services running in parallel and competing for resources. So in our example, we are going to use reactive programming to create our application. A working example of the application is available on https://github.com/thecodinganalyst/graphql. Make sure you have dockerhub and mongodb installed to run the application and the tests.
implementation 'org.springframework.boot:spring-boot-starter-data-mongodb-reactive:3.1.3'
implementation 'org.springframework.boot:spring-boot-starter-graphql:3.1.3'
implementation 'org.springframework.boot:spring-boot-starter-webflux:3.1.3'
For a start, we shall add spring-boot-starter-webflux and spring-boot-starter-graphql to our dependencies. For database, we’re going with MongoDB, and we’re using the reactive version of the driver, so we add spring-boot-starter-data-mongodb-reactive.
For testing, other than the usual spring-boot-starter-test, we need to add reactor-test from project reactor to make use of the StepVerifier to test reactively. And lastly, we will use testcontainers to create the mongodb for testing, so we shall add spring-boot-testcontainers, junit-jupiter and mongodb libraries from testcontainers. Make sure we use version 3.x for our spring boot, so that we can make use of the @ServiceConnection annotation to easily set up our testcontainers.
To know more about using testcontainers, do visit https://www.thecodinganalyst.com/reference/Spring-boot-testing-with-MongoDB/.
testImplementation 'org.springframework.boot:spring-boot-starter-test:3.1.3'
testImplementation 'org.springframework.boot:spring-boot-testcontainers:3.1.3'
testImplementation 'io.projectreactor:reactor-test:3.5.9'
testImplementation 'org.springframework.graphql:spring-graphql-test:1.2.2'
testImplementation 'org.testcontainers:junit-jupiter:1.18.3'
testImplementation 'org.testcontainers:mongodb:1.18.3'
Next, place the schema.graphqls file in the src/main/java/resources/graphql folder. This is the default location for the graphql schema file. Then set the mongodb connection string properties in the src/main/java/resources/application.properties file. I’m naming my database intro, you can change it to anything you like, but make sure to create the database in your local mongodb.
spring.data.mongodb.database=intro
spring.data.mongodb.port=27017
spring.data.mongodb.host=localhost
spring.data.mongodb.auto-index-creation=true
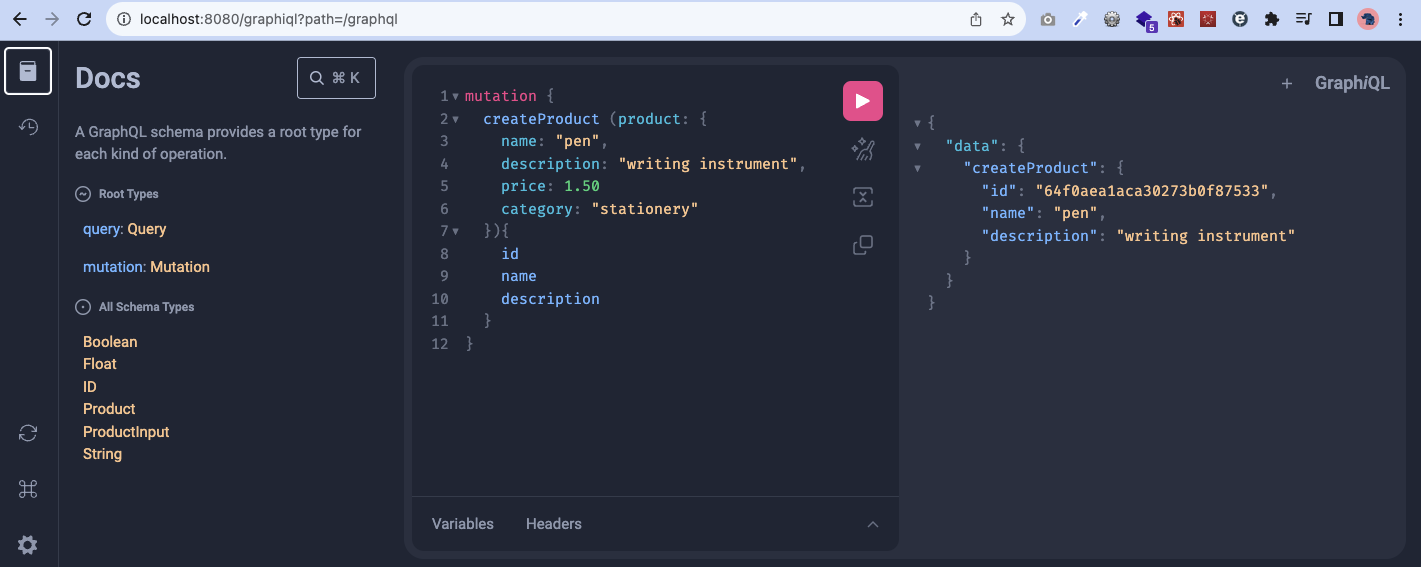
spring.graphql.graphiql.enabled=true
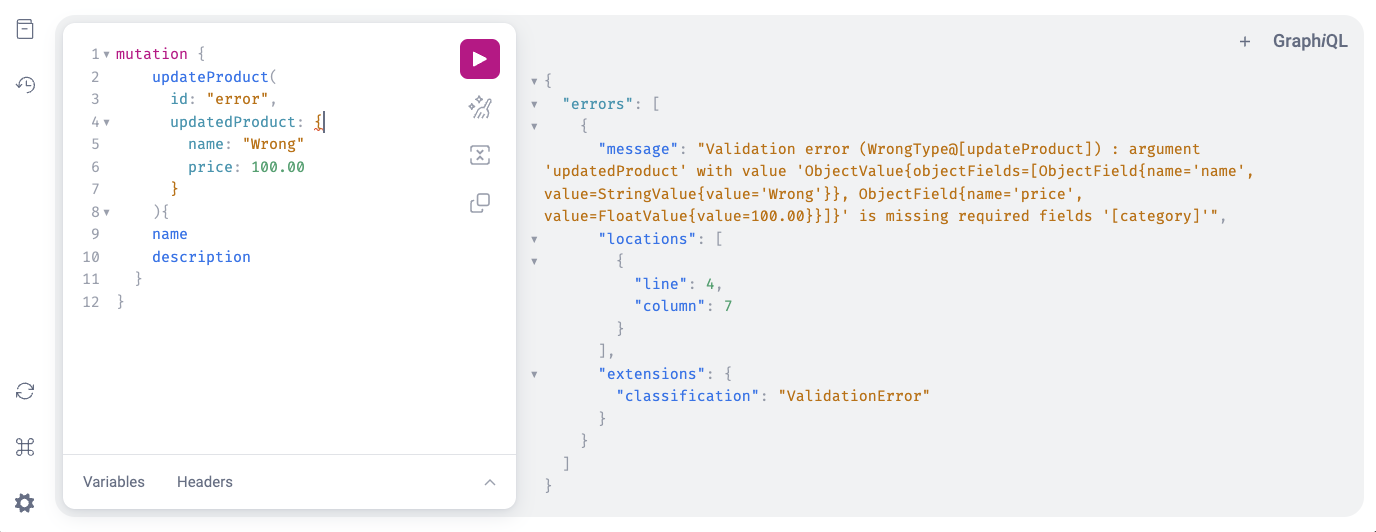
The spring.graphql.graphiql.enabled property enables the /graphiql endpoint which you can browse on your browser to test your graphql. As in the screenshot below, not only does it allow you to run your api, it also provides documentation on the types, queries, and mutations available on your endpoint.
So, to begin, we create the Product class as defined in our schema.
@Document
@Data
@AllArgsConstructor
@NoArgsConstructor
public class Product {
@Id
String id;
String name;
String description;
BigDecimal price;
String category;
public Product(String name, String description, BigDecimal price, String category){
this.name = name;
this.description = description;
this.price = price;
this.category = category;
}
}
The @Document specifies that this class is identified as a mongodb document, and the @Data, @AllArgsConstructor, and @NoArgsConstructor are lombok annotations to create the boiler code, such as the getters, setters, and constructors we need for our data class.
@Repository
public interface ProductRepository extends ReactiveMongoRepository<Product, String> {
}
For our repository, since we are using reactive programming, we extend ReactiveMongoRepository instead of MongoRepository.
@Service
public class ProductService {
private final ProductRepository productRepository;
public ProductService(ProductRepository productRepository){
this.productRepository = productRepository;
}
public Mono<Product> createProduct(Product product){
return productRepository.save(product);
}
public Flux<Product> getAllProducts(){
return productRepository.findAll();
}
public Mono<Product> getProduct(String id){
return productRepository.findById(id);
}
public Mono<Product> updateProduct(String id, Product updatedProduct){
    return productRepository.findById(id)
            .switchIfEmpty(Mono.error(new IllegalArgumentException("Product not found")))
            .flatMap(product -> {
                product.setName(updatedProduct.getName());
                product.setDescription(updatedProduct.getDescription());
                product.setPrice(updatedProduct.getPrice());
                product.setCategory(updatedProduct.getCategory());
                return productRepository.save(product);
            });
}
public Mono<Boolean> deleteProduct(String id){
return productRepository.findById(id)
.switchIfEmpty(Mono.error(new IllegalArgumentException("Product not found")))
.flatMap(product -> productRepository.deleteById(id).thenReturn(true));
}
}
This is what we create for our service, not too much different from the usual way in non-reactive spring web as depicted in https://www.thecodinganalyst.com/tutorial/Spring-boot-application-getting-started/. Except that since it is reactive, we are returning streams, and we encapsulate our return types with Mono for returning single objects, and Flux for returning multiple objects. Do visit https://www.baeldung.com/reactor-core to know more about Mono and Flux in the reactor-core project.
The updateProduct method above first look up for the product with the id field, and returns an error if a product with the id is not found. If the product is found, it updates the product with the values passed in the parameter, and save the product back to the repository.
@Controller
public class ProductController {
private final ProductService productService;
public ProductController(ProductService productService){
this.productService = productService;
}
@MutationMapping
public Mono<Product> createProduct(@Argument Product product){
return productService.createProduct(product);
}
@QueryMapping
public Flux<Product> getAllProducts(){
    return productService.getAllProducts();
}
@QueryMapping
public Mono<Product> getProduct(@Argument String id){
return productService.getProduct(id);
}
@MutationMapping
public Mono<Product> updateProduct(@Argument String id, @Argument Product updatedProduct){
return productService.updateProduct(id, updatedProduct);
}
@MutationMapping
public Mono<Boolean> deleteProduct(@Argument String id){
return productService.deleteProduct(id);
}
}
Lastly, we create our ProductController. Instead of annotating it with @RestController, we just need to annotate it with @Controller, since we are not using REST. For our functions to map to our queries and mutations defined in our schema.graphqls, we need to annotate them with either @QueryMapping or @MutationMapping respectively, with the function name matching the actual queries/mutations. The same is for the parameters, but we annotate them with the @Argument annotation instead.
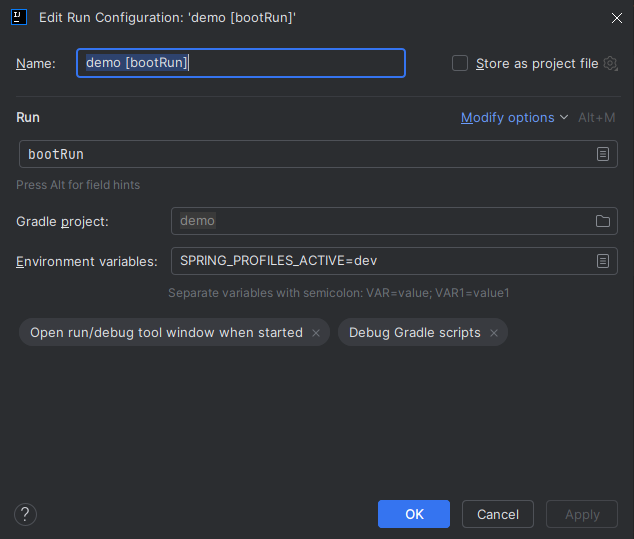
That’s it! Try to bootRun it and navigate to the /graphiql endpoint to test the APIs.
In the next article, I shall explain how to do integration testing on the APIs.
Once again, a complete working source code of the above application is available on https://github.com/thecodinganalyst/graphql.
]]>