
Create a new NextJS site with Typescript, Material-UI, and Cypress
NextJS is a React framework that is great for static site generation, as it has the structure to pre-render the pages, provide routing, and bundling with webpack to support typescripts, etc. And to ensure consistency and standardization of the user interface, it is recommended to use a design system, with built-in components so that we can get complex user interface up and running with minimal code. So I’m using Material-UI here, as it is free and comes with quite a few useful components. Cypress is really the go to platform for testing of web applications, it sets up the platform that really eases your testing on various browsers, and it automates the testing process with a great UI for debugging.
To get started, run the following command in your desired project location to create a NextJS project.
npx create-next-app
Then, add an empty file named tsconfig.json in the project root. In a terminal, run a next command npm run dev, and you will be guided (as below) to install the required packages to set up typescript.
ready - started server on 0.0.0.0:3000, url: http://localhost:3000
info  - Using webpack 5. Reason: no next.config.js https://nextjs.org/docs/messages/webpack5
It looks like you're trying to use TypeScript but do not have the required package(s) installed.

Please install typescript and @types/react by running:

	npm install --save-dev typescript @types/react

If you are not trying to use TypeScript, please remove the tsconfig.json file from your package root (and any TypeScript files in your pages directory).
Following the instructions, run the following command to install @types/react and typescript
npm install --save-dev typescript @types/react
Now that the project is compatible with typescript, we can rename the extension of the current files (index.js and _app.js) to use the .tsx extension
To ensure it is working, run npm run dev and visit http://localhost:3000 to ensure that it is working well. Once you’ve checked that everything is ok, hit CTRL+C in your terminal to stop the server as we have other packages to install.
To install material-ui, run the following command
npm install @material-ui/core @material-ui/icons
Lastly, run npm install cypress --save-dev to install the testing framework. It is always a good habit and best practice to test as often as possible so that we can ensure our application is always well tested, and free of technical debts.
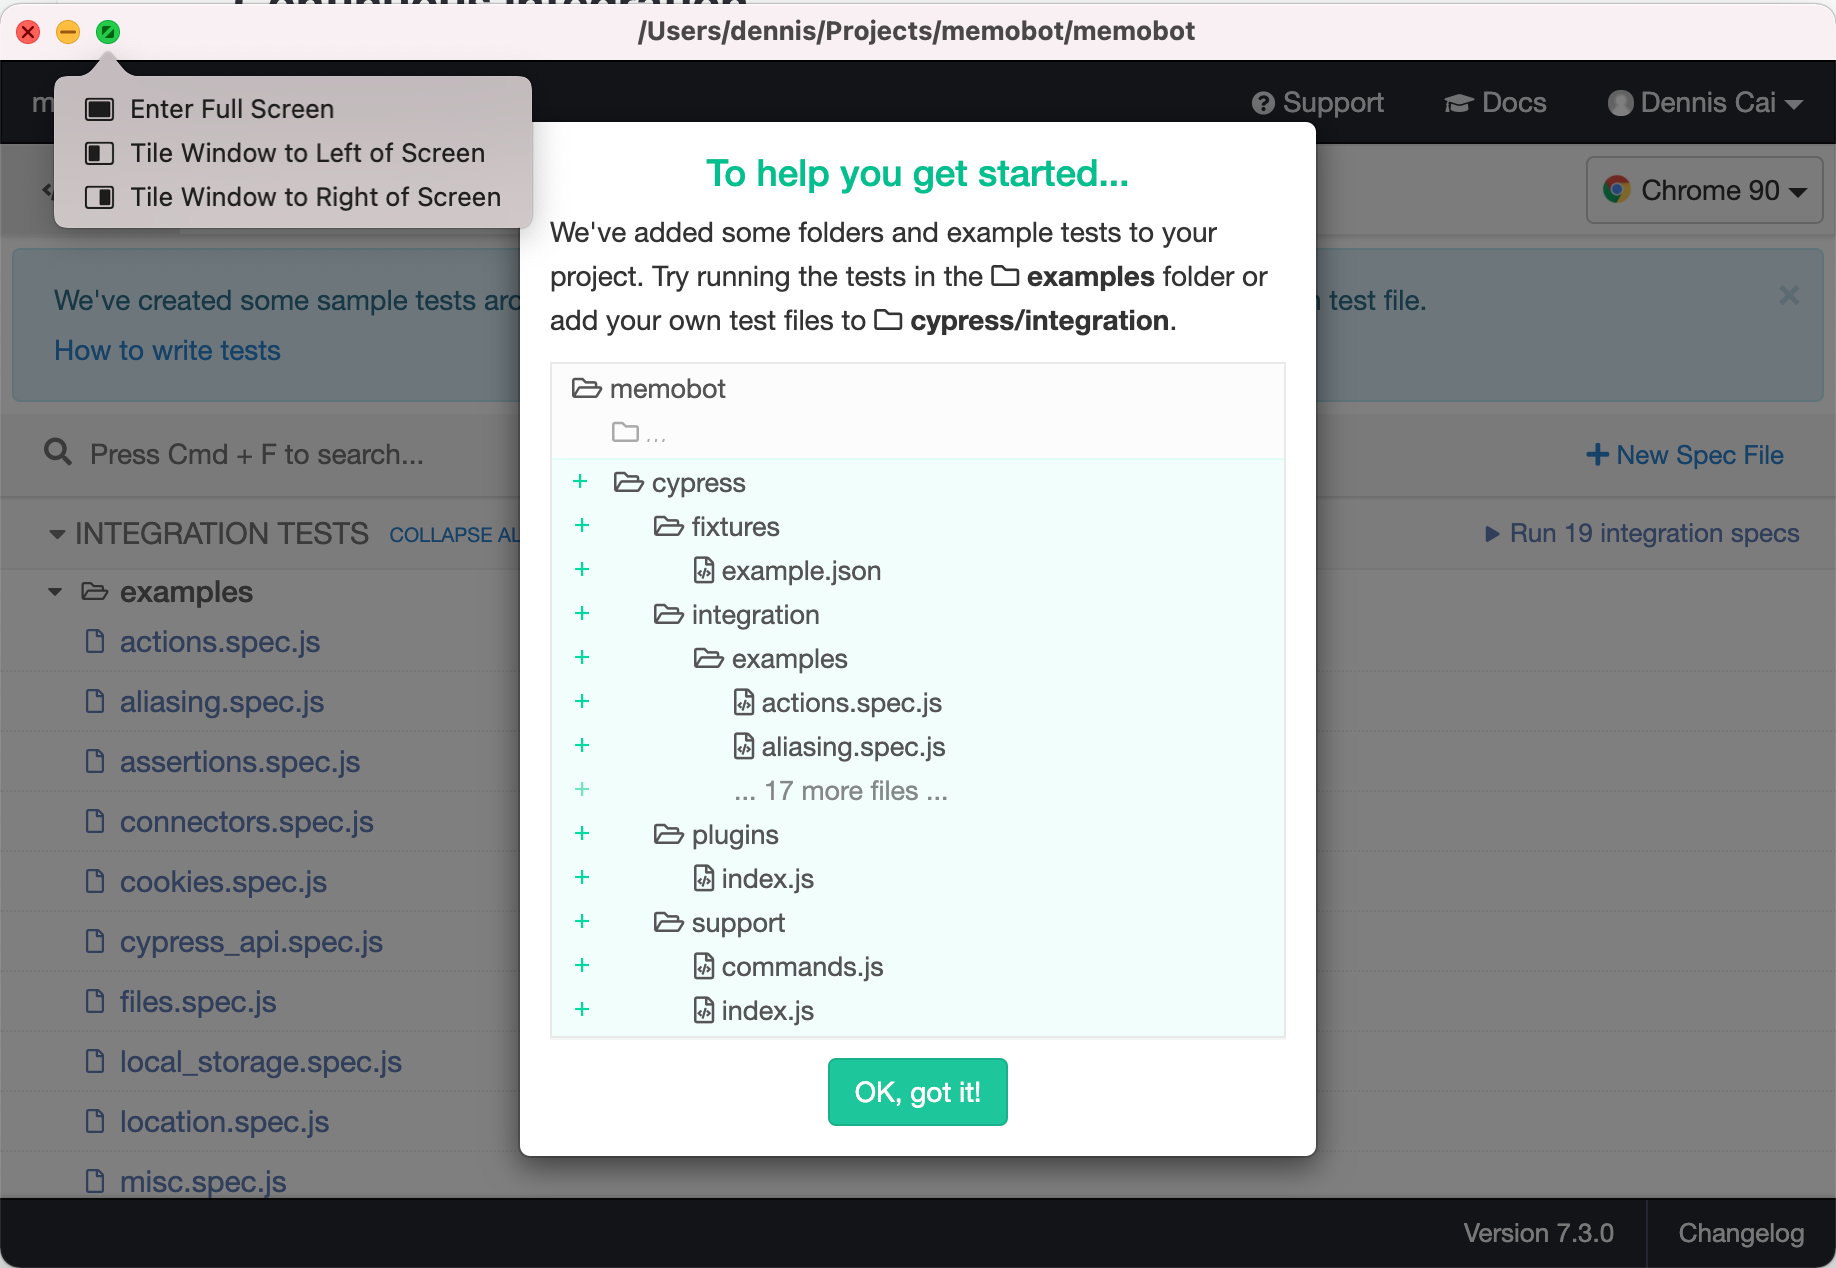
After cypress is installed, run npx cypress open to run it. A new cypress window (screenshot below) will appear, showing you that it has created a new cypress folder in your project, with various examples created to help you get started. You can safely delete the example folder, as all the test cases are referencing https://example.cypress.io, and not related to the current project.
Thats it for the installation process.
Now, let’s set up the cypress configuration to make it a bit easier for us. Open the cypress.json file and replace the content with the following
{
  "baseUrl": "http://localhost:3000",
  "nodeVersion": "system"
}
The setting of baseUrl will allow us to reference with relative paths (e.g. / instead of http://localhost:3000/) in our test cases so that when the domain is changed after we deployed, we do not have to manually update all the test cases.
Setting nodeVersion to system will get cypress to use the node version of the project, instead of the node version that comes in cypress. This is for cases when you are using new functions from a higher version of node than the cypress version.
We want to make start testing so let’s now remove the returned contents in index.tsx to just a simple Hello World. Replace the export default function in index.tsx to the following.
export default function Home() {
  return (
    <h1>Hello World!</h1>
  )
}
Then, we create a new spec file index.spec.js under the cypress/integration folder, with the following content.
describe('Home page', () => {
  it('Should display without error', () => {
    cy.visit('/')
  })
})
The cy.visit() is the function to instruct cypress to navigate to our homepage. We can use / thanks to the baseUrl configuration as mentioned above.
The new index.spec.js should be shown automatically in the cypress window.
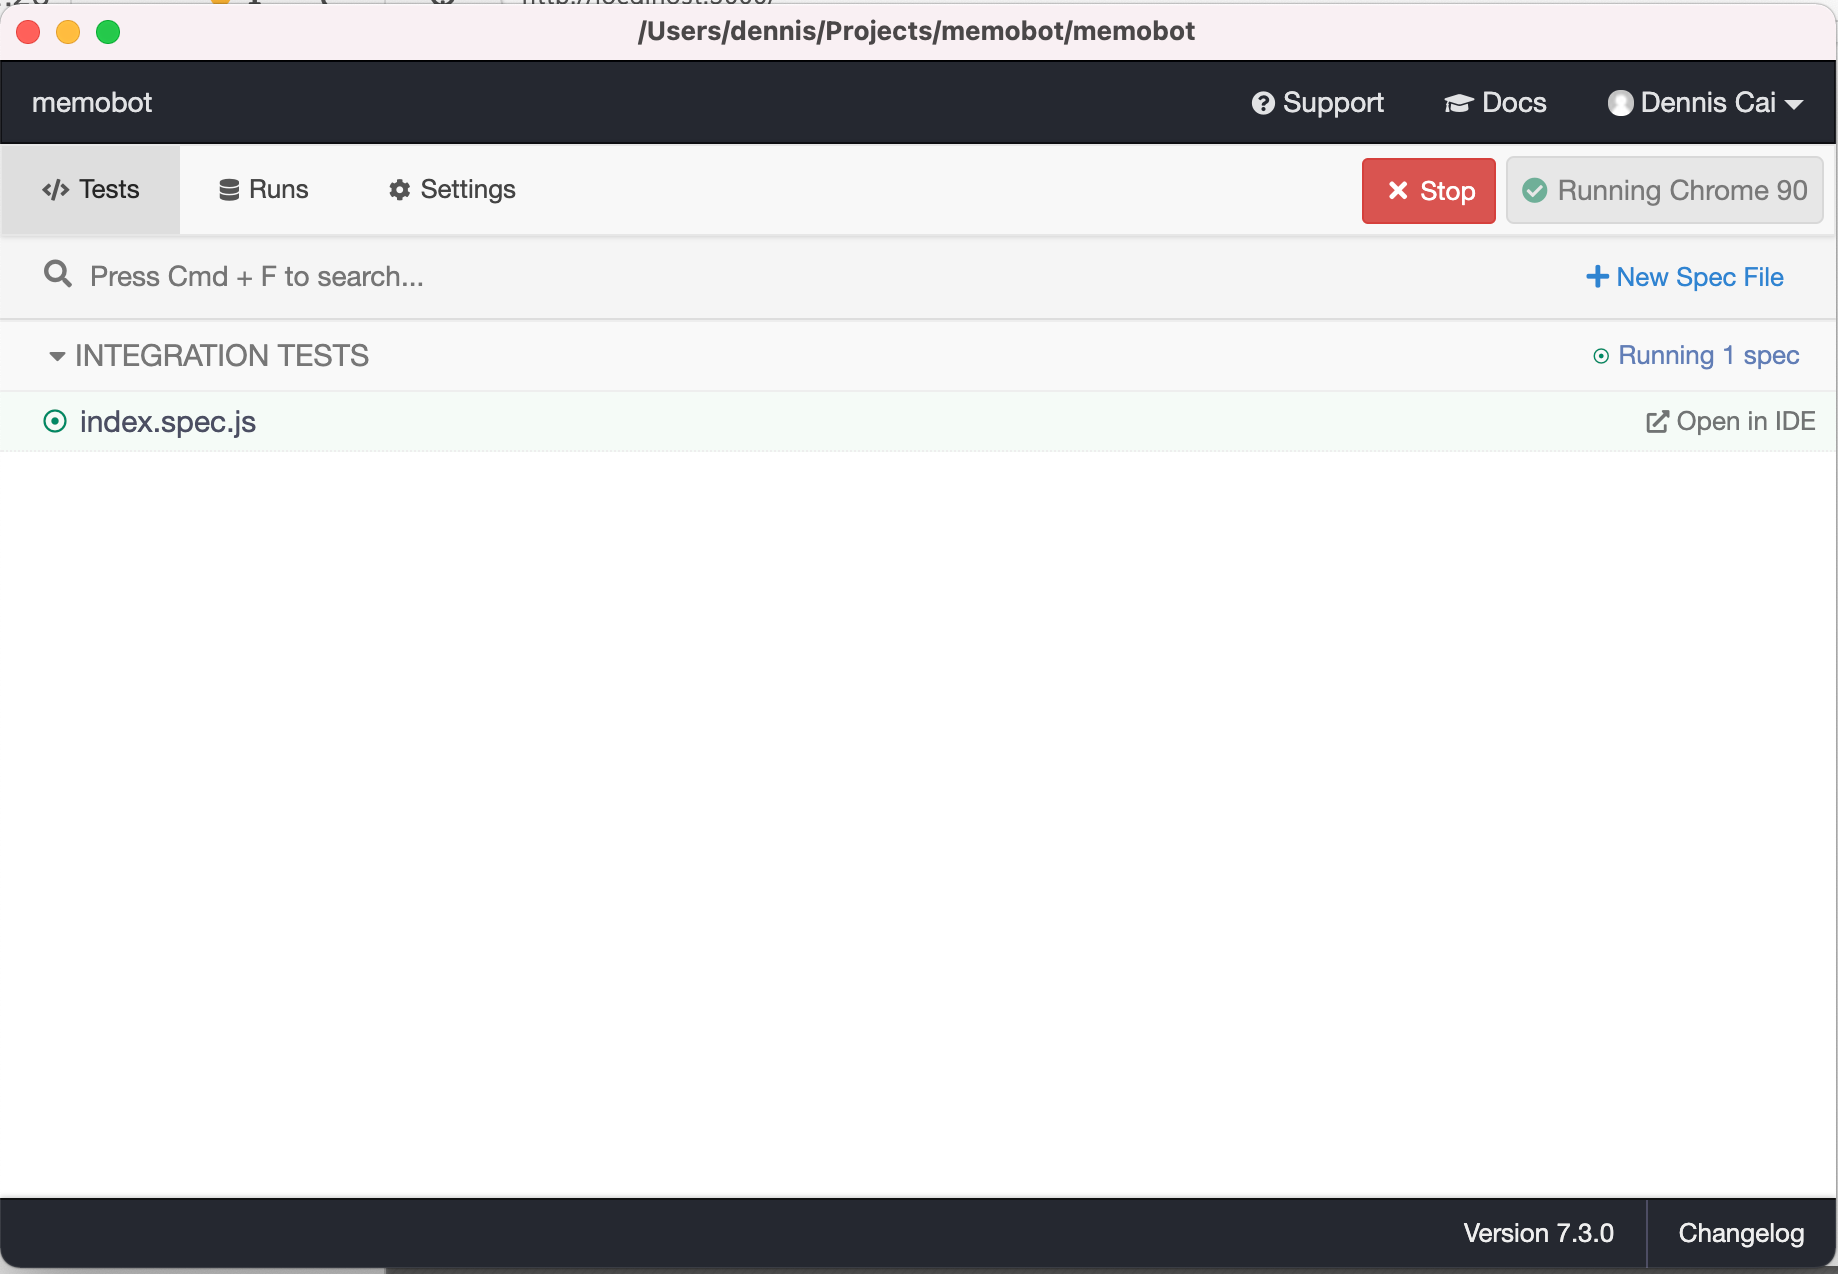
Click on the index.spec.js and a new browser window will open, with the test cases in the file. It should show that the test case ran successfully.
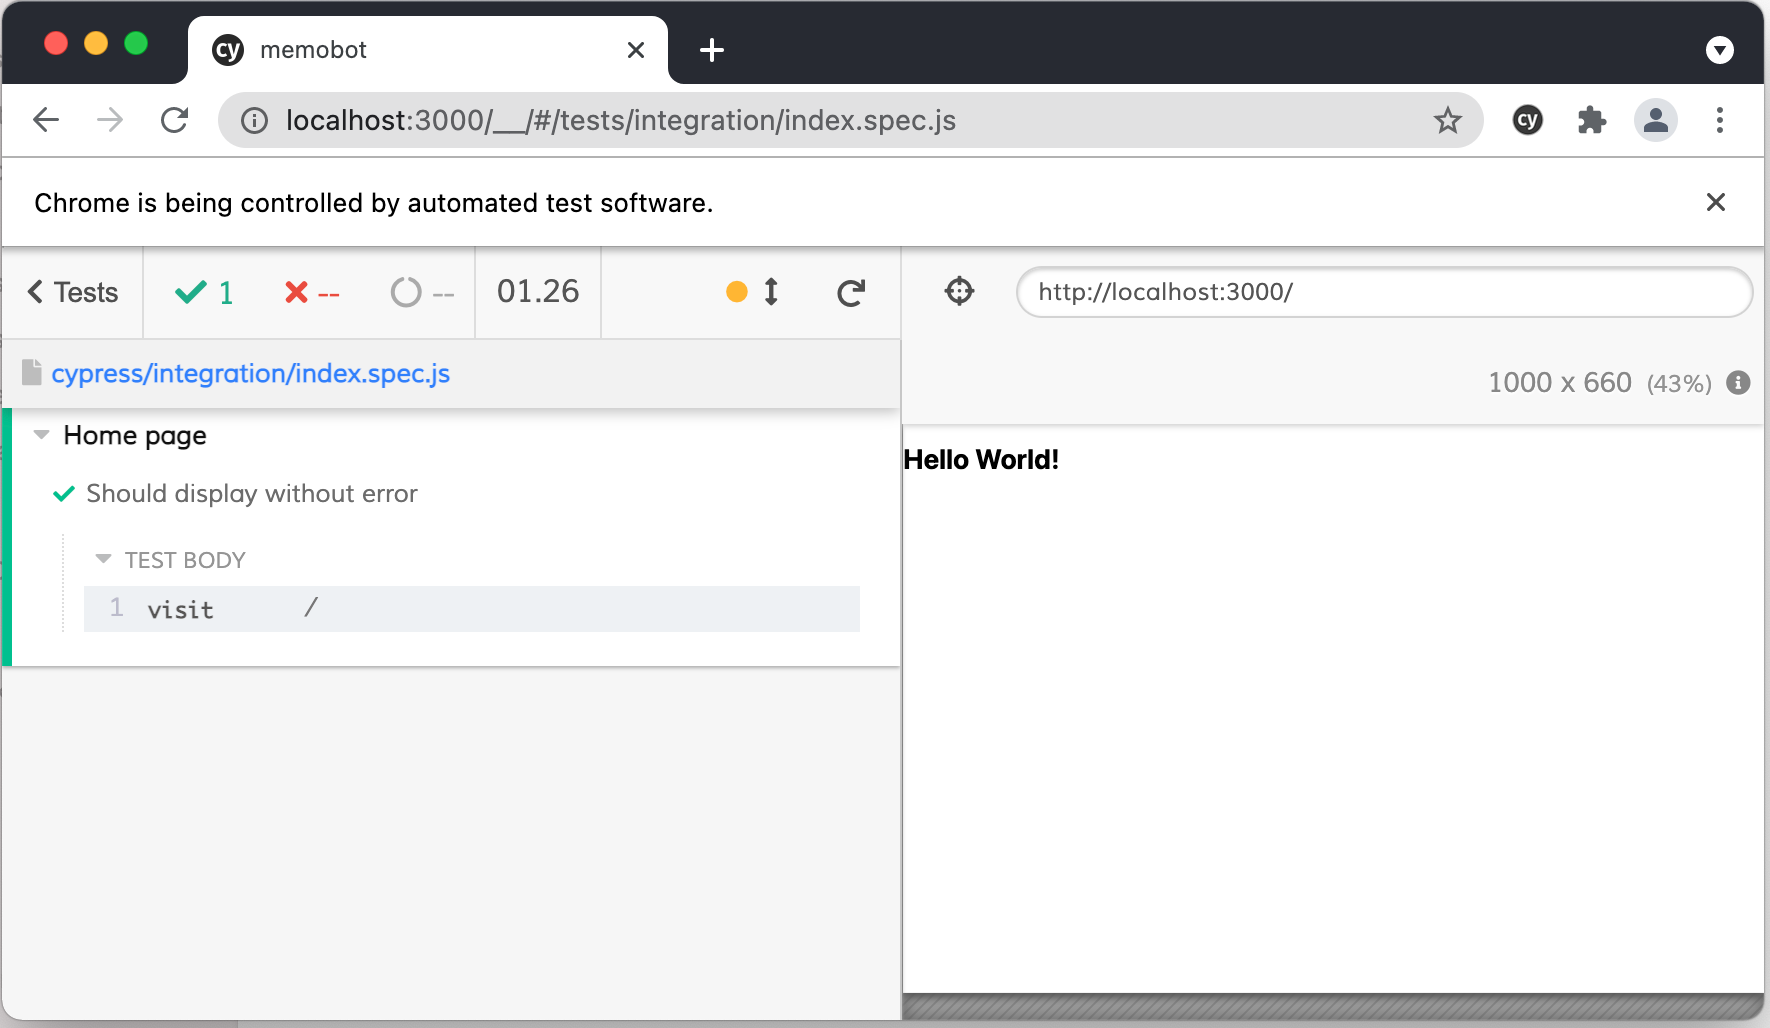
Although we didn’t specify any assertions, the test still succeeds as cypress have built-in default assertions such that certain commands does not need explicit exertions. They will also fail if the command is not completed. Thus if we stop the nextjs server, and run the test again, you can see the test will fail as it can’t reach the index page.
Before getting on to start adding in the material-ui components, do note that according to https://material-ui.com/guides/server-rendering/, material-ui was not designed to be rendered on server, which is what nextjs is all about. When we use material ui in the nextjs pages, the material ui styles are by default generated on the server side, because nextjs is a static site generator, so the pages are pre-generated, and so are the material ui that comes with it. If nothing is done, there will be a warning in the browser console log, such as “Prop classname did not match. Server: ‘makeStyles-main-3’ Client: ‘makeStyles-main-1’”.
In order to make it work, the server-side generated css need to be removed, and injected to the client side. For nextjs, we can enable this by removing the server side injected css from the custom App, and inject it in the custom Document.
To remove the server side injected css from the custom App (_app.tsx), replace the function in _app.tsx with the following code.
function MyApp({ Component, pageProps }) {
  React.useEffect(() => {
    // Remove the server-side injected CSS.
    const jssStyles = document.querySelector('#jss-server-side');
    if(jssStyles){
      jssStyles.parentElement!.removeChild(jssStyles);
    }
  }, []);
  return <Component {...pageProps} />
}
Then create a _document.tsx directly under the pages folder, with the following content.
import React from 'react';
import Document, {Html, Head, Main, NextScript} from "next/document";
import {ServerStyleSheets} from "@material-ui/core";

export default class MyDocument extends Document {
    render(){
        return (
            <Html lang="en">
                <Head>
                    <link rel="stylesheet" href="https://fonts.googleapis.com/css?family=Roboto:300,400,500,700&display=swap" />
                </Head>
                <body>
                <Main />
                <NextScript />
                </body>
            </Html>
        );
    }
}

// `getInitialProps` belongs to `_document` (instead of `_app`),
// it's compatible with server-side generation (SSG).
MyDocument.getInitialProps = async (ctx) => {

    // Render app and page and get the context of the page with collected side effects.
    const sheets = new ServerStyleSheets();
    const originalRenderPage = ctx.renderPage;

    ctx.renderPage = () =>
        originalRenderPage({
            enhanceApp: (App) => (props) => sheets.collect(<App {...props} />),
        });

    const initialProps = await Document.getInitialProps(ctx);

    return {
        ...initialProps,
        // Styles fragment is rendered after the app and page rendering finish.
        styles: [...React.Children.toArray(initialProps.styles), sheets.getStyleElement()],
    };
};
The above code is from https://github.com/mui-org/material-ui/blob/master/examples/nextjs/pages/_document.js.
Once the above steps are completed, restart the nextjs server, and the console warning will be gone.
The result of the above is published on github -> https://github.com/thecodinganalyst/next-sample, with a toolbar and drawer from material ui, as well as a demonstration of how the dynamic routing can work in nextjs.
However, maybe material ui is really not suitable for use with next js, i find that the loading of the pages seems to be very slow in development mode. Though, it is still ok when I run it in production, as the pages are generated on build time.